
To begin using the Callr API
First steps
Once your Callr account is approved, you can log in the Callr Console. You'll be greeted with this screen:
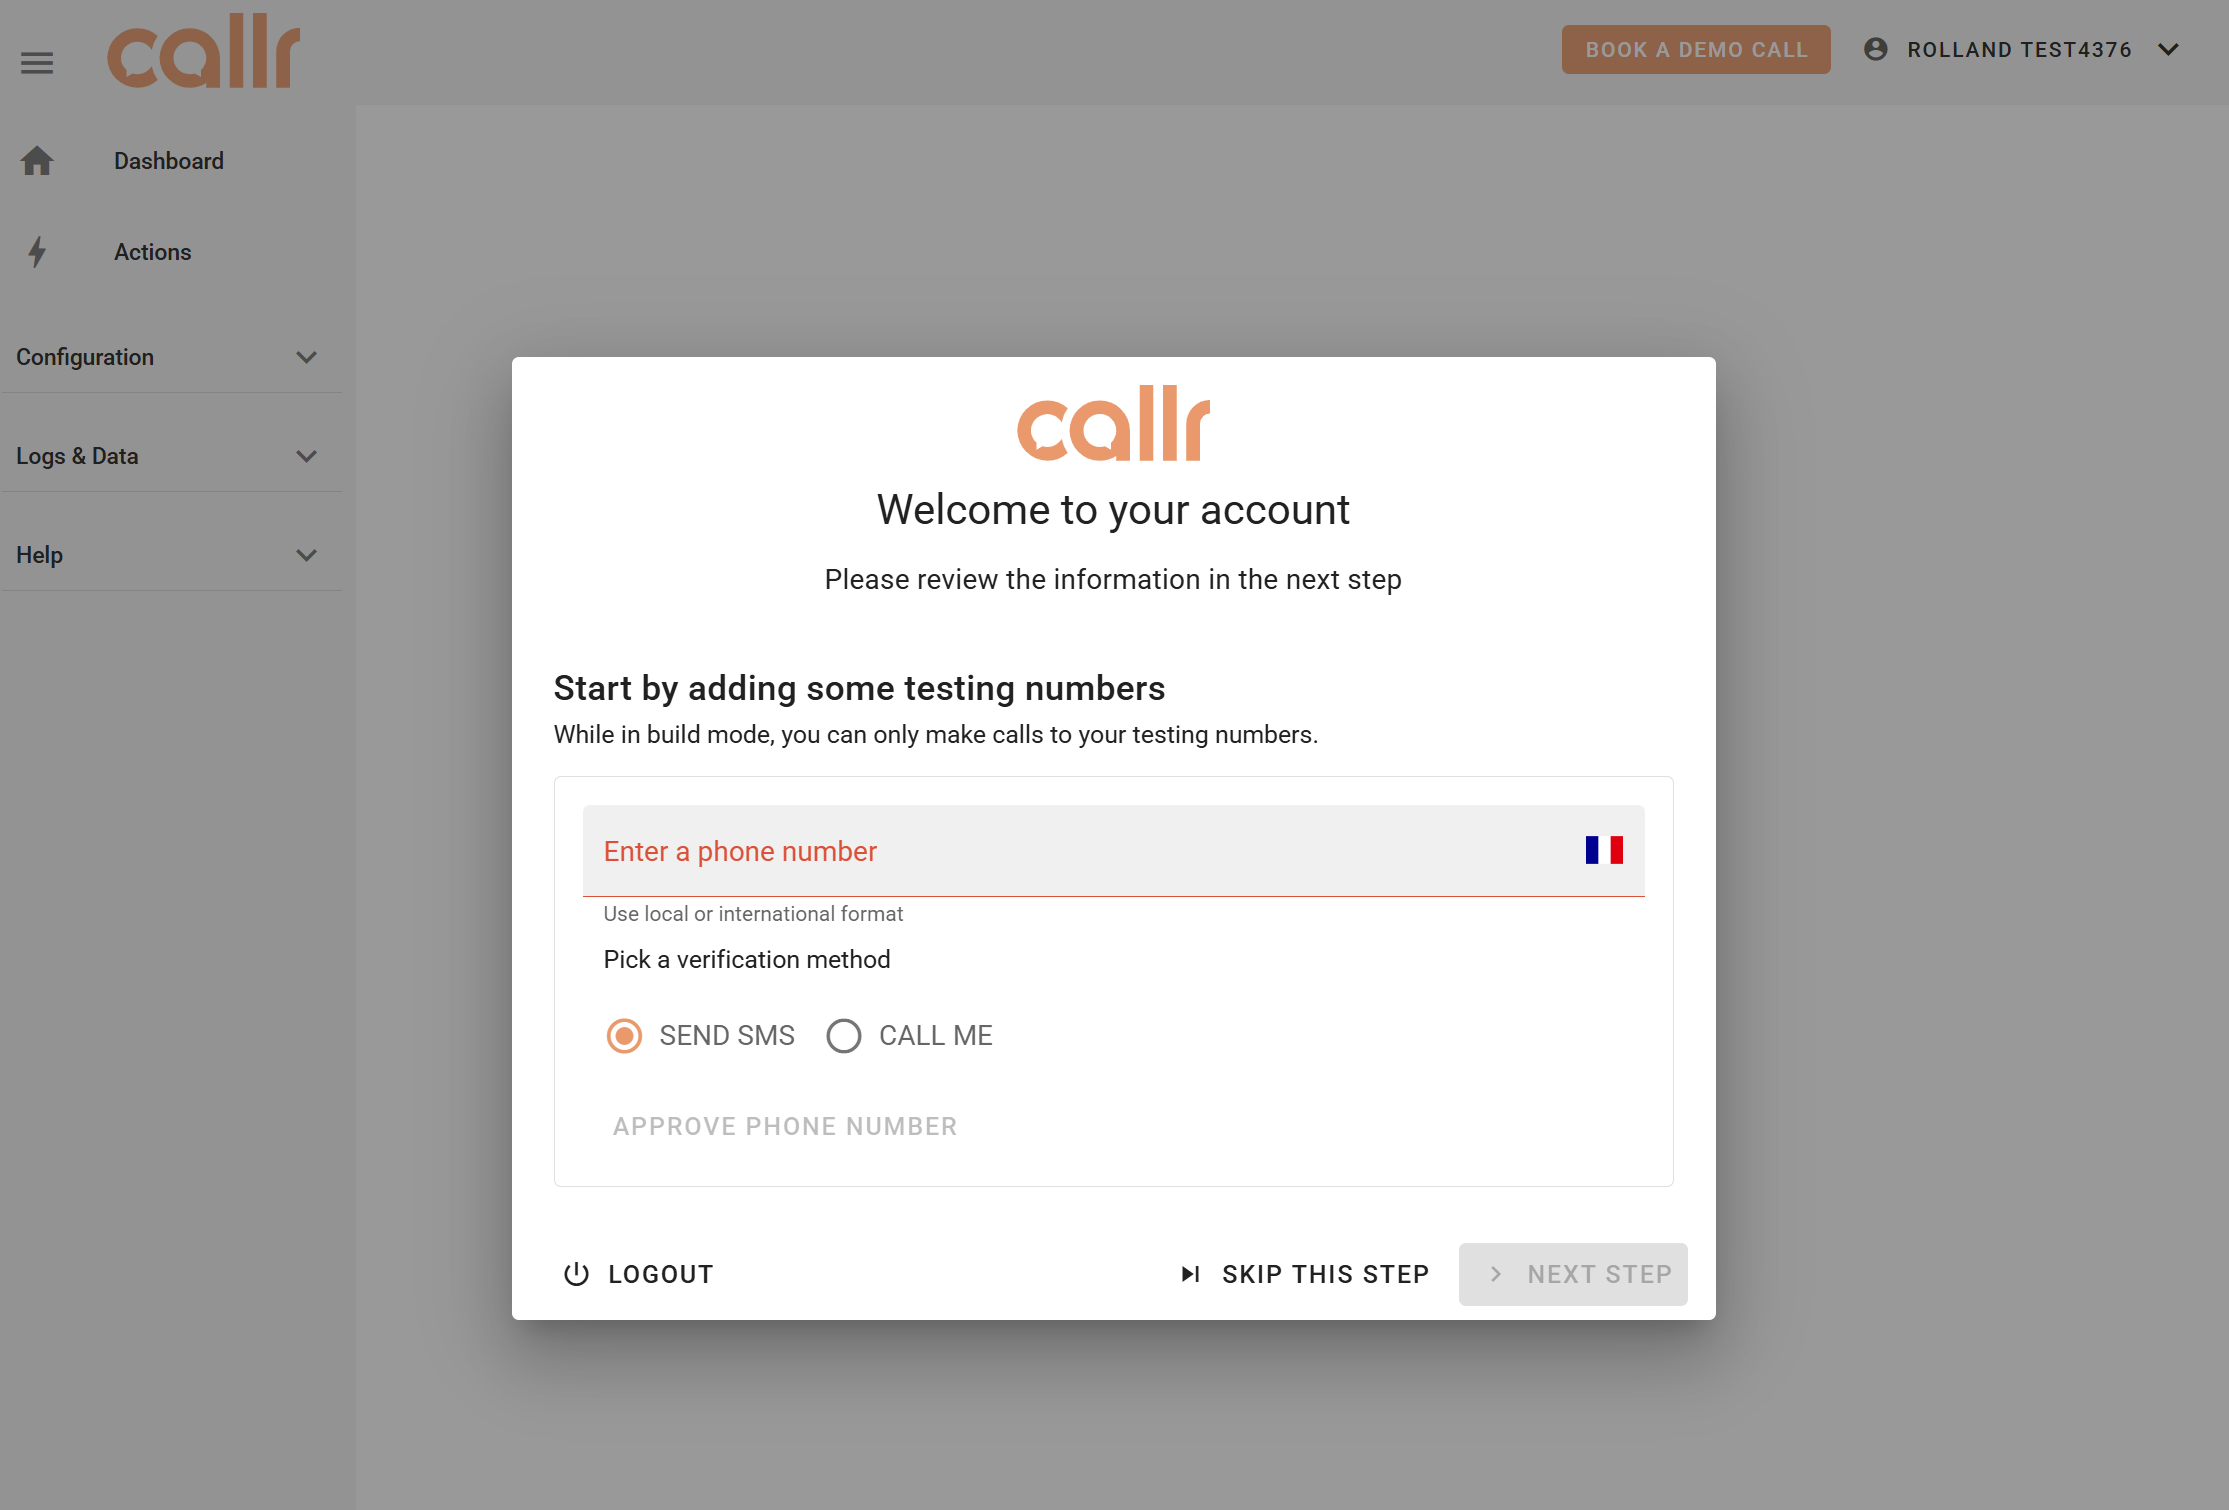
Build mode & Testing Numbers
While your account is in Build Mode, you can only make Outbound Calls to your Testing Numbers - phone numbers you personally own and can receive calls or SMS on.
If you don’t add one during setup, don’t worry — you can register a Testing Number later.
The next screen will outline some basic rules for using your free trial.
Make sure to read them carefully so you know what’s allowed while in Build Mode.
Dashboard
Once setup is complete, you'll land on your Dashboard.
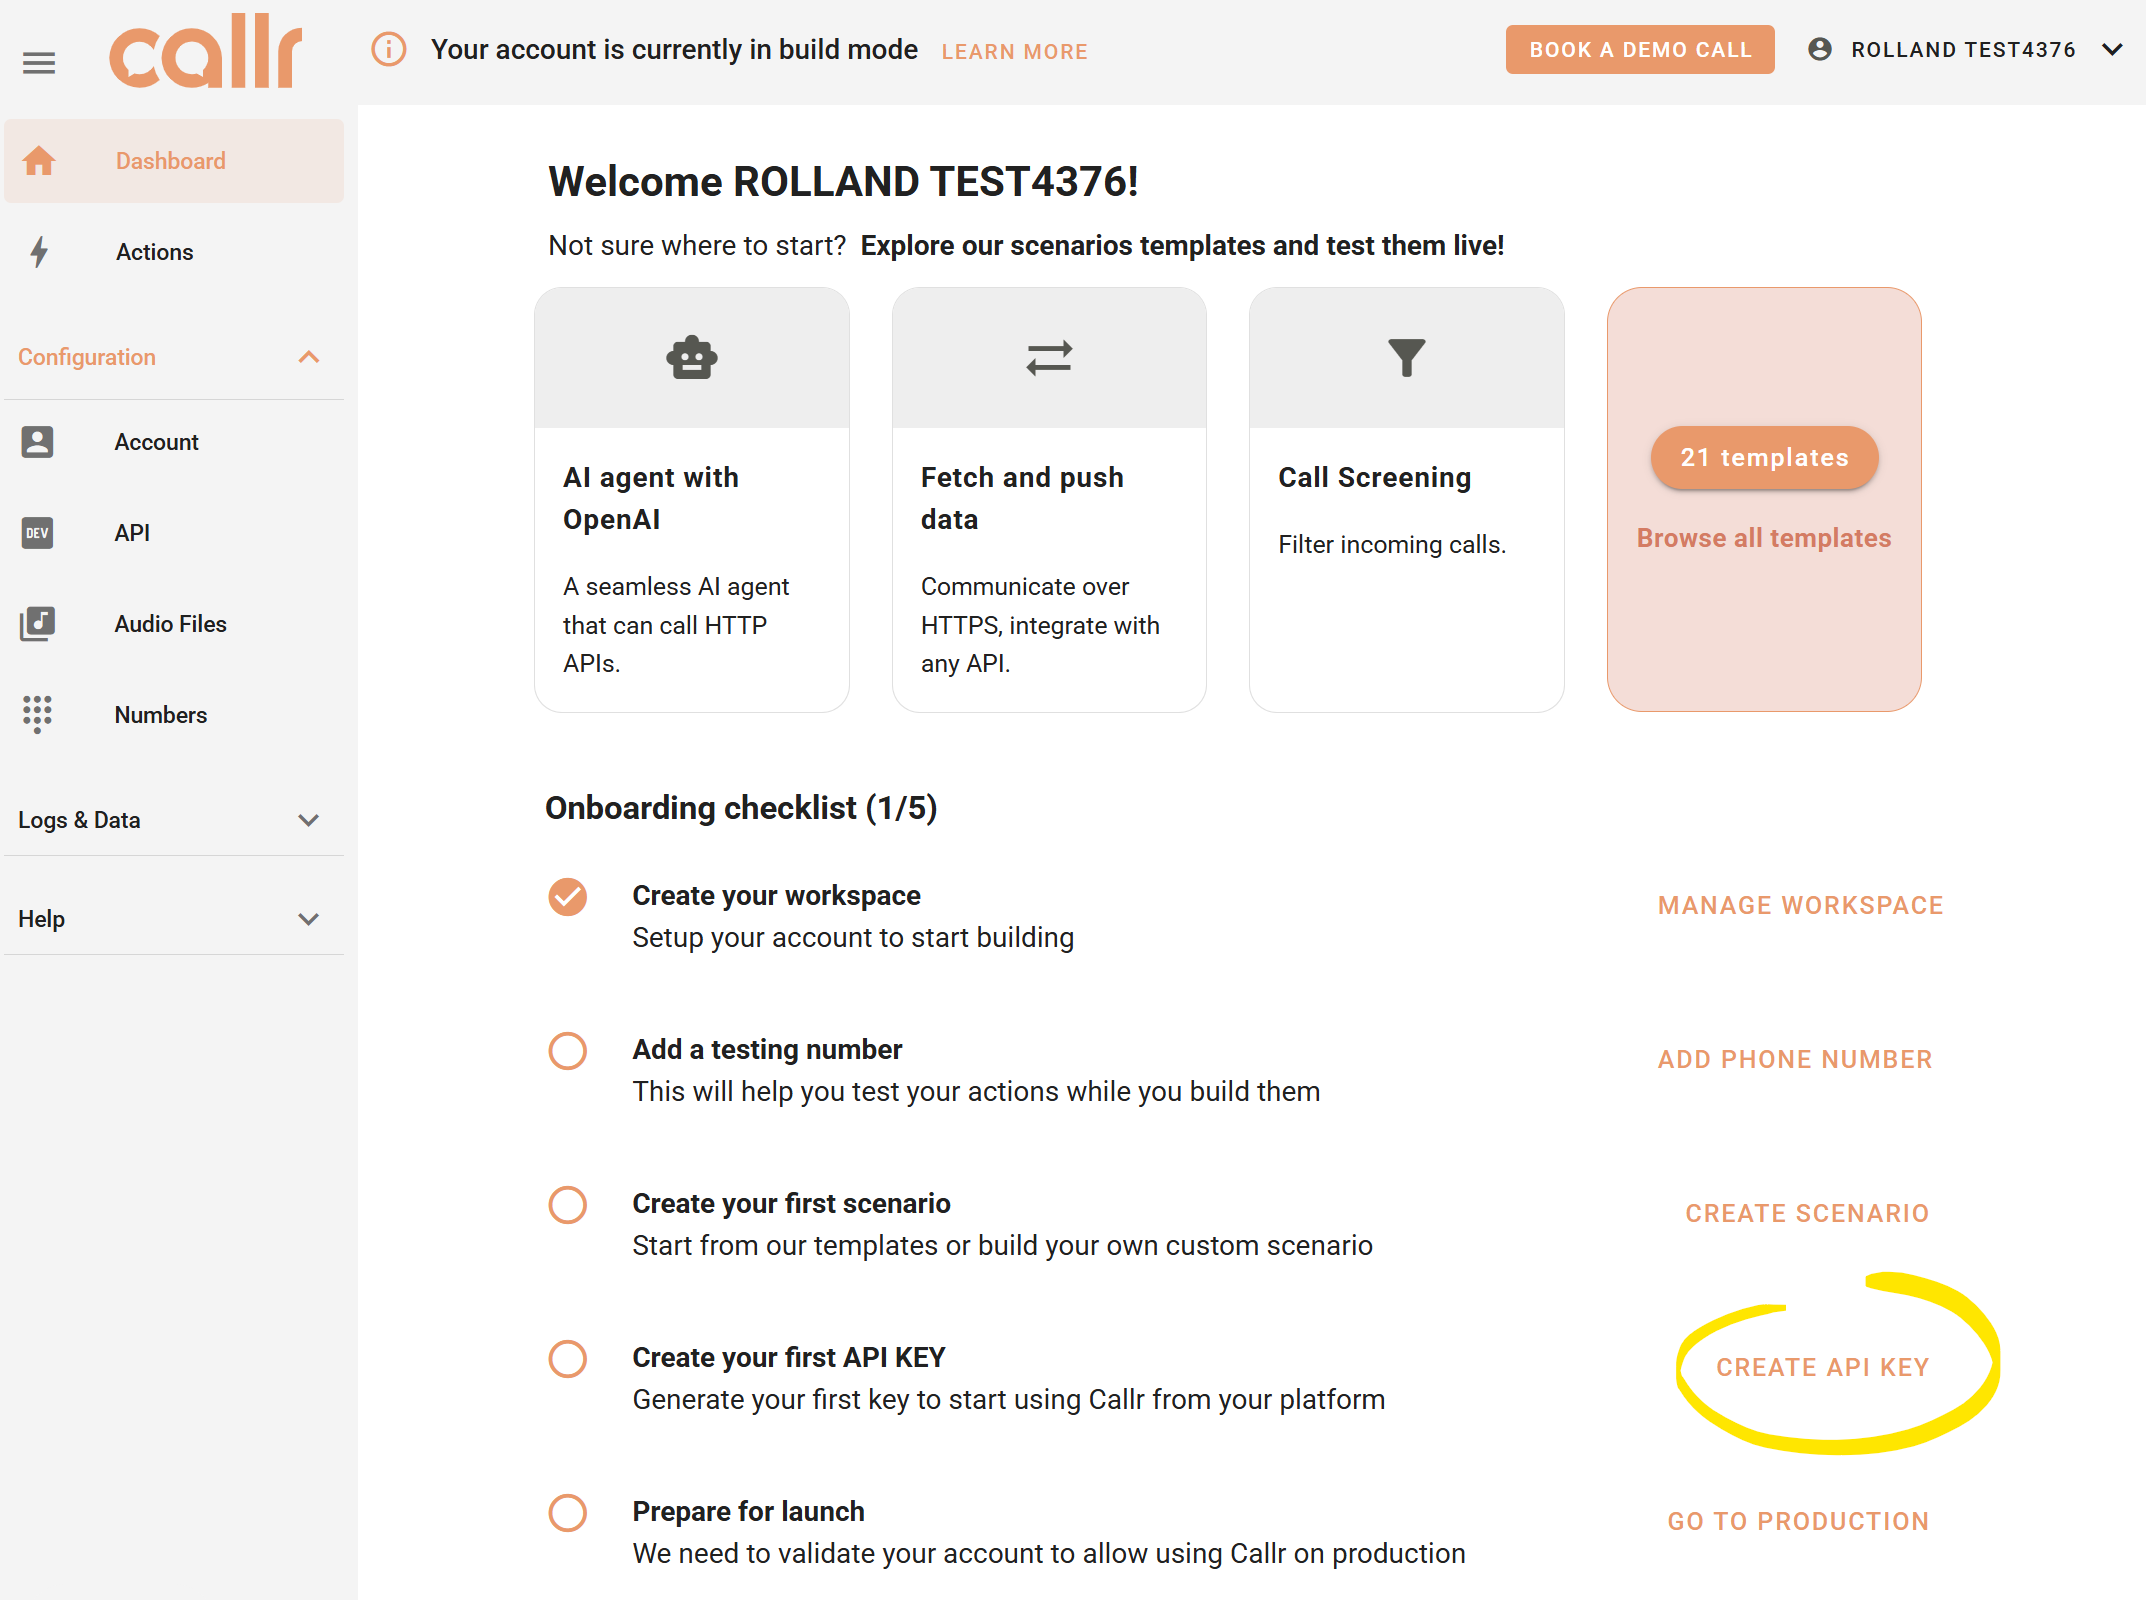
Click CREATE API KEY, then give your key a name:
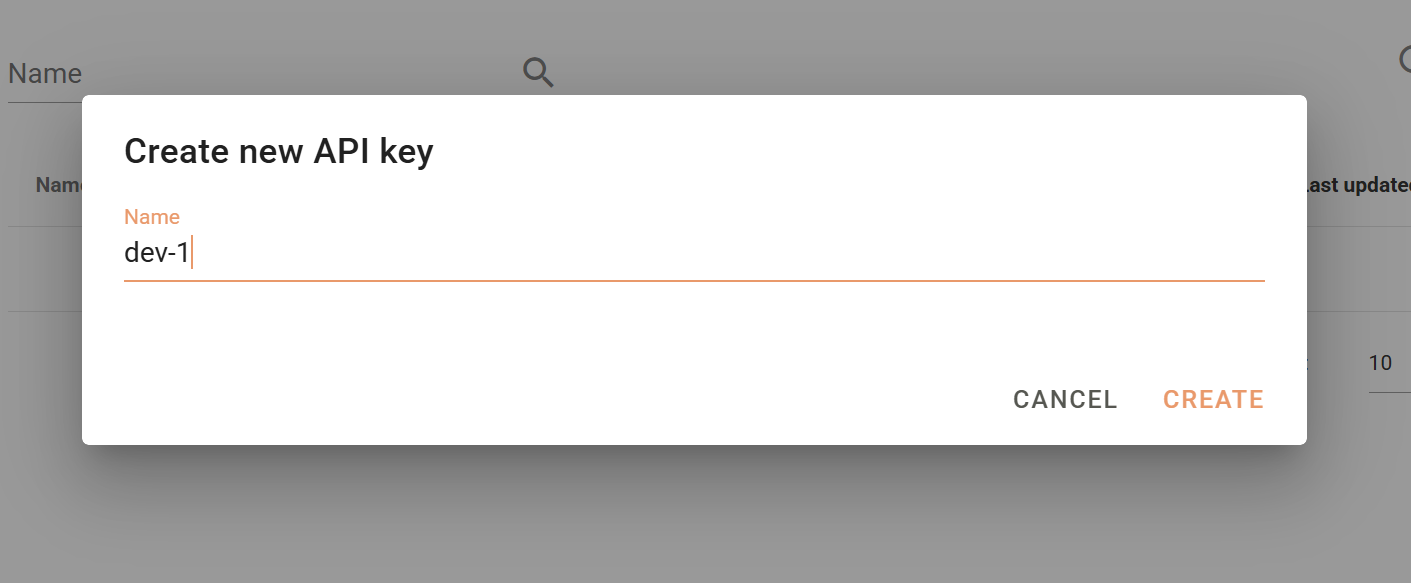
The API Key will be shown only once - right after you click CREATE. Make sure to copy and store it securely.
We store one-way hashes of API keys and have no way to display them again.
Make sure you follow all the Best Practices to store and manage API Keys!
Send your first request!
Once you have your API Key, you are ready to make your first request.
curl --request GET \
     --url https://api.callr.com/v2.0/ping \
     --header 'accept: application/json'
     --header 'x-api-key: <your-callr-api-key>'
We may also send your first request online.